I made these Mint-chocoate brownies because a friend insisted that they were the best. I don't usually care too much for minty-chocolaty things, but I figured these could change my mind.
Currently it's been 27 hours since my last brownie. I assure you if it was even mildly appropriate to call in sick so that I could stay home and make another batch, I would. They were so good, that I completely forgot to take a picture of them so you could see how good they look.
The key is the brownie, which is dense and fudge like. The mint layer that goes on top is just the right amount of minty to work in contrast with the chocolate. The two layers blend together seamlessly, creating a smooth balance of sweetness.
I suggest to you strongly that you bake the brownie the night before. It needs to settle in a way that takes more than a few hours of cooling.
The Brownie is simple to make, you will need:
1 cup sugar
1/2 cup softened butter
4 eggs
1 cup flour
1 1/2 cups Hershey's chocolate syrup
Turn your oven to 350 while you blend all your ingredients, starting with the butter and sugar then working in the eggs one at a time. Mix in the flour, and once fully combined start adding the chocolate syrup in. Once everything is mixed spread into a 13x 9 pan and bake for 25-30 minutes. It will look a little damp because of the syrup, just make sure the cake is set (not jiggly).
Allow the brownie to cool overnight.
The mint mix is super simple to whip up. You will need:
2 cups powdered sugar
1/2 cup soft butter
1 tbsp water
1/2 tsp. mint extract
Whip the mint, water and butter together till smooth then slowly add in the powdered sugar. The mixture should be smooth and creamy. You can add a few drops of green food coloring if you would like. Spread the mint mixture evenly on top of the brownie.
Melt a few chocolate chips in the microwave or over a double boiler then drop small dollops of the melted chocolate across the top of the mint to make a nice swirl pattern.
I let the completed brownies chill in the fridge for a few hours, so that the layers can get to know each other. From there, it's just cut, serve and enjoy my friends.
I plan on making another batch soon, and will post pictures as soon as I can. Special thanks to Mrs. Mama McFadden for giving me this recipe.
Tuesday, June 21, 2011
Tuesday, June 14, 2011
The Perfect Rack
The other day we were at a restaurant and I could not help but notice that half a rack of baby back ribs will run you about $18. For that price, you could get 2 full racks and roast those babies at home! The trick to perfect ribs at home is to start with a dry rub, then to cook them nice and slow.
The night before cooking I rub my ribs down with my custom dry rub mixture, then wrap them up to marinate. The dry rub helps to lock in moisture while the spices penetrate the meat, making it nice and tender. You can use a packaged rub, but I prefer to make my own.
Nikee's Dry Rub: (enough for one rack)
1/4 cup chili powder
1 Tbsp black pepper
1 Tbsp. garlic salt
1 Tbsp. cumin
1 Tbsp. chipotle chili powder
1 Tbsp. smoked paprika
1/4 cup brown sugar
1 Tbsp. onion powder
You can always customize your rub to fit your tastes. Mine is spicy and smokey. A little ground mustard, some old bay seasoning, basil and oregano all make good additions.
When it comes time to cook your ribs, line your large roasting pan with foil. This will make clean up super easy.
I throw my ribs in the pan and cook at 250 for about 2 1/2 hours. Make sure you place them meat side up, bone side down. The last 30 minutes or so you can swipe on a traditional BBQ sauce just don't over-do it. There is a lot of flavor already packed into those ribs from the dry rub. If all goes well your finished product should look like this:

Tuesday, June 7, 2011
Lady Food: Big Beautiful Pretzels!
Tell Auntie Anne to take the day off because I am about to show you how to make Bavarian pretzels at home. These twisted beauties are just as tasty as the ones you find at the mall, and you probably have all the ingredients to make them just sitting in your cupboards. They're simple to master and will dazzle all your friends.
Making pretzels requires your counters to be clear so that you have enough room to roll and twist. I always start with a clean kitchen, sink empty and counters wiped. You will want to have a some parchment paper or a nice big cutting board on hand to knead and form your pretzels on. You will also need a cookie sheet to bake them on.
To make the Pretzels:
1 1/2 cups lukewarm water
1 package active dry yeast (or 2 1/4 tsp.) *Yeast is super cheap and easy to work with, make it your BFF
4 1/2 cups flour
2 tbsp. brown sugar
2 tsps. table salt
1 large egg, yolk and white separated
4 tbsp. melted butter (unsalted is best)
2 tbsp baking soda
Some coarse salt to sprinkle on top
1. Start by pre-heating your oven to 400 and putting parchment paper down on your baking sheets. The parchment paper is key, i know from experience that you will not be happy if you try to skip it. In a small bowl combine your water and yeast pack, whisk then let sit for 5 minutes.
2. Normally, the ingredients are combined in a stand mixer fitted with a bread hook. I'm 24 and those cost about $300 so I do it the old fashioned way and mix it by hand, or for about $7 you can get an old fashioned dough whisk. My recommendation to you is to do some light wrist stretches before you start, because it's a bit of a work out.
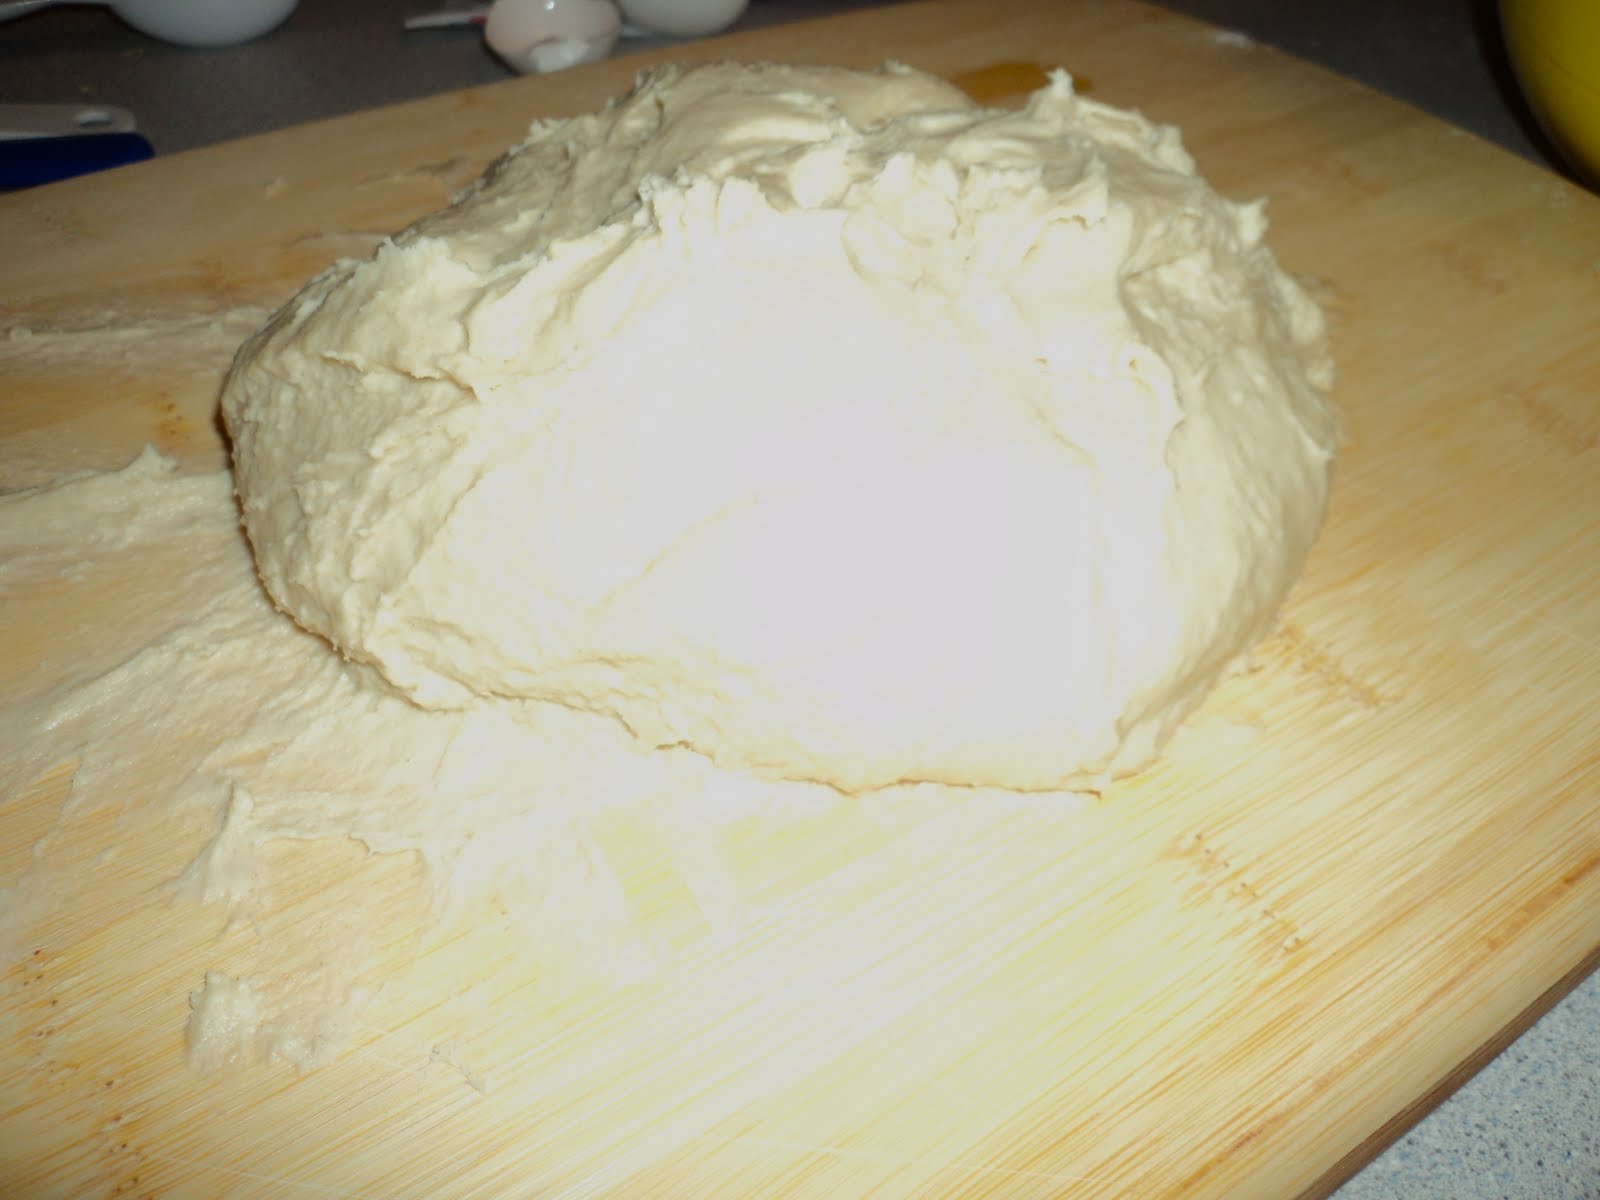
In a large bowl combine the flour, sugar and salt. In a separate bowl lightly combine the egg yolk, yeast & water mixture and melted butter. Dig a little hole in the middle of the flour mixture and pour the liquid mixture in it. I use a wooden spoon to start the stirring but at a certain point you will want to switch to using your hands. This point usually comes when the mixture starts getting sticky and all the ingredients have been fully combined. From here I lift the mound of dough out of the bowl and start kneading it on the cutting board. It's going to be a bit sticky and messy. Keep pulling and twisting the dough until it is smooth and elastic (this usually takes 7-8 minutes). Once it's reached that point, you and the dough need to rest for 5 minutes.

In a large shallow pan mix 2 cups warm water with the baking soda. On your work surface divide your dough. You can either make 6 large pretzels, or you can make 12 pretzel twists. Roll your dough out onto your work surface. For big pretzels you will want to gently roll the dough into a rope about 3 feet long. Dip your rope into the baking soda mixture for 30 seconds then remove and get ready to twist.
Shape your rope into your form of choice, for twists I fold the rope in half then twist. For the standard pretzel shape, make a loop, then twist, then fold the loose ends over and press down lightly so it holds its form.
Lay your pretzels out on your parchment lined sheets. The final touch consists of mixing the egg white with a tablespoon of water. Brush your pretzel lightly with the egg mixture then top it with the coarse salt. Pop it in the oven and allow to bake for 12-15 minutes.
If you want to get creative, you can wrap one of those ropes around a pre-cooked polish sausage, bake and serve for dinner!
You can also enhance your twists with pepperoni, a sprinkle of cheese, or a simple crumb topping (use the one from the Nanner muffins recipe). Wanna get really fancy? Use chopped nuts and toffee. Top, then bake!
Oh and don't forget the dips! In my house the favorites are mustard, chocolate syrup, and con queso!

Not the prettiest pretzel shape i've ever made, but it sure was tasty!
Making pretzels requires your counters to be clear so that you have enough room to roll and twist. I always start with a clean kitchen, sink empty and counters wiped. You will want to have a some parchment paper or a nice big cutting board on hand to knead and form your pretzels on. You will also need a cookie sheet to bake them on.
To make the Pretzels:
1 1/2 cups lukewarm water
1 package active dry yeast (or 2 1/4 tsp.) *Yeast is super cheap and easy to work with, make it your BFF
4 1/2 cups flour
2 tbsp. brown sugar
2 tsps. table salt
1 large egg, yolk and white separated
4 tbsp. melted butter (unsalted is best)
2 tbsp baking soda
Some coarse salt to sprinkle on top
1. Start by pre-heating your oven to 400 and putting parchment paper down on your baking sheets. The parchment paper is key, i know from experience that you will not be happy if you try to skip it. In a small bowl combine your water and yeast pack, whisk then let sit for 5 minutes.
2. Normally, the ingredients are combined in a stand mixer fitted with a bread hook. I'm 24 and those cost about $300 so I do it the old fashioned way and mix it by hand, or for about $7 you can get an old fashioned dough whisk. My recommendation to you is to do some light wrist stretches before you start, because it's a bit of a work out.
In a large bowl combine the flour, sugar and salt. In a separate bowl lightly combine the egg yolk, yeast & water mixture and melted butter. Dig a little hole in the middle of the flour mixture and pour the liquid mixture in it. I use a wooden spoon to start the stirring but at a certain point you will want to switch to using your hands. This point usually comes when the mixture starts getting sticky and all the ingredients have been fully combined. From here I lift the mound of dough out of the bowl and start kneading it on the cutting board. It's going to be a bit sticky and messy. Keep pulling and twisting the dough until it is smooth and elastic (this usually takes 7-8 minutes). Once it's reached that point, you and the dough need to rest for 5 minutes.
In a large shallow pan mix 2 cups warm water with the baking soda. On your work surface divide your dough. You can either make 6 large pretzels, or you can make 12 pretzel twists. Roll your dough out onto your work surface. For big pretzels you will want to gently roll the dough into a rope about 3 feet long. Dip your rope into the baking soda mixture for 30 seconds then remove and get ready to twist.
Shape your rope into your form of choice, for twists I fold the rope in half then twist. For the standard pretzel shape, make a loop, then twist, then fold the loose ends over and press down lightly so it holds its form.
Lay your pretzels out on your parchment lined sheets. The final touch consists of mixing the egg white with a tablespoon of water. Brush your pretzel lightly with the egg mixture then top it with the coarse salt. Pop it in the oven and allow to bake for 12-15 minutes.
If you want to get creative, you can wrap one of those ropes around a pre-cooked polish sausage, bake and serve for dinner!
You can also enhance your twists with pepperoni, a sprinkle of cheese, or a simple crumb topping (use the one from the Nanner muffins recipe). Wanna get really fancy? Use chopped nuts and toffee. Top, then bake!
Oh and don't forget the dips! In my house the favorites are mustard, chocolate syrup, and con queso!

Not the prettiest pretzel shape i've ever made, but it sure was tasty!
Subscribe to:
Posts (Atom)